Scada Alarm Widget
- Applies Color over PNG Image
- Updates in Real-time
- Use Any Image
- Modify Colors to Your Style
- Works in Workbench and Modern Browser
The Scada Alarm Widget overlays any color over any PNG image to show it in a different color. This color filter applies a matrix transformation on the RGBA color and alpha values of every pixel on the input graphics to produce a result with a new set of RGBA color and alpha values. Also check out the Alarm View Template.
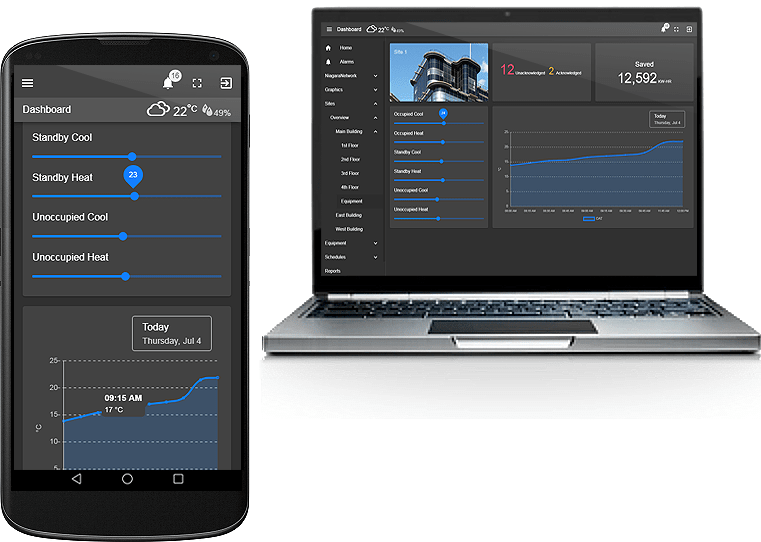
Are you looking for a cost effective way to manage and visualize data for all your customers? Why not have a look at View Builder?
Before you start. Download the modules from our portal (see your order confirmation, which also explains licensing). Copy the modules file to your modules directory. Restart BOTH station and Workbench.
1. Copy the scadaAlarmWidget-ux.jar file to your modules directory.
2. Open the module from your palette file.
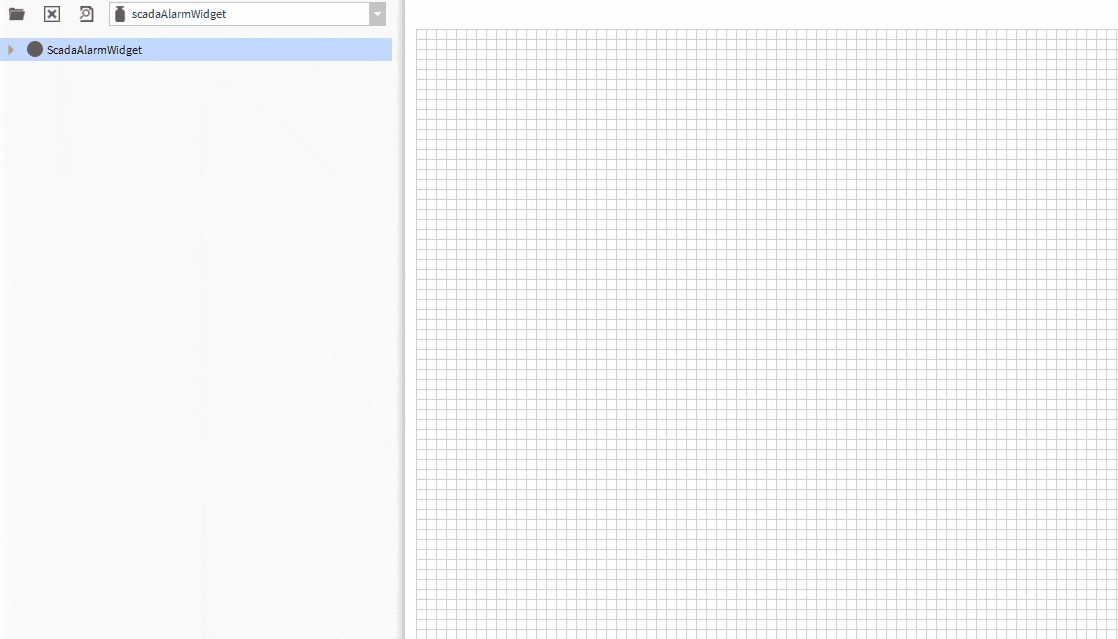
3. Drag and drop the widget from the palette onto your px view.
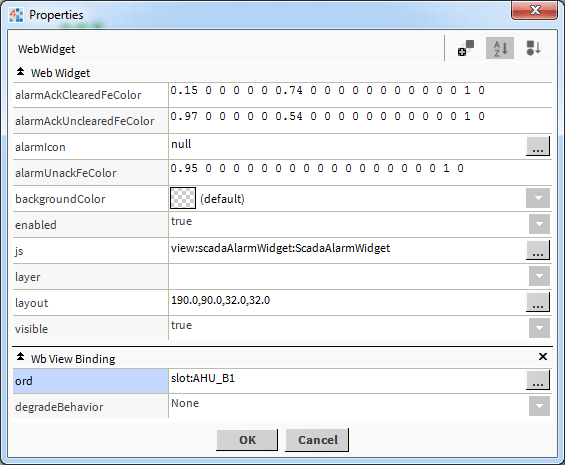
The widget has a few configurable properties that can be used to modify look, feel, and functionality. Change the properties as required:
Main Ord - Widget Binding
Set this to an absolute ord, e.g. station:|slot:/Drivers/NiagaraNetwork/AHU5
OR
relativized ORD e.g.
slot:AHU5
This property should point to an appropriate point that has an appropriate alarm extension.
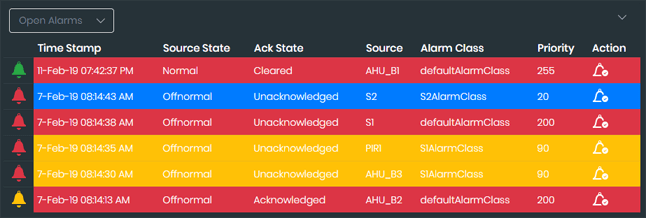
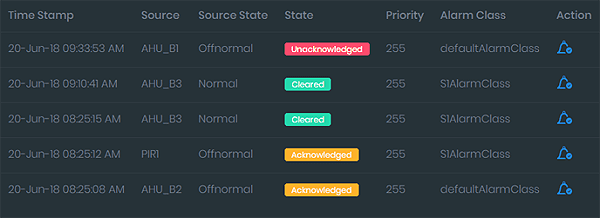
Alarm States Besides no alarm, the Niagara alarm mechanism has 3 other states that you should be wary of.
1. Unacknowledged
An alarm has occured but is un-cleared and unacknowledged by the system. Usually RED in color.

2. Acknowledged Uncleared
An alarm has occured and has been acknowledged by the system but still in an alarm state. Usually ORANGE/YELLOW in Color.

3. Cleared
An alarm is no longer in an alarm state, has been recently cleared, but waiting an acknowledgement by the system. Usually GREEN in Color.

feColorMatrix
In order to properly apply the color to the image, this property must be in the correct format.
The matrix has five columns and four rows.
Each row represents one of the output numbers: R,G,B,A.
The columns represent your input RGBA and a constant 1.
You calculate the output value for each row by adding up each of the values in the row multiplied by the corresponding input value.
Example:
Use an online editor to set up your colors: http://andresgalante.com/RGBAtoFeColorMatrix/
Alarm Icon You can overlay any PNG image to use as the alarm image. Use an image with a transparent background. The image must exist in the appropriate station directory. If no image is set, the default image embedded in the widget is used (indicator.png).
Background Color The default is transparent. If your px/html page has a different color, set this property to match it.
Viewing in Workbench Because of the advanced HTML5 features this widget uses, you must set niagara.jxbrowser.disable=true in your system.properties file.
Build Your Own dashboards and win Projects by showing data that increase value and reduces expenditure.